.png)


Kitchen Basic: Spatchcock Chicken
- Melissa

- Jan 7, 2021
- 4 min read
I have said it before, I am not a big fan of meal prepping! I like to cook, and I get bored of having a bunch of the same thing in the fridge. It also makes me feel deprived for some reason, probably because of the monotony! However, I can't argue with how much easier it is to eat healthy when you have your fridge stocked with prepped meals. I like to find a happy medium in prepping my proteins. I love buying the whole chickens, roasting them spatchcock style, shredding all the meat off of them and then I get to use to bones for bone broth. You can immediately use your chicken, or you can pack it up into manageable portions and freeze for later use. I like to freeze, rather than put it in the fridge, because I don't trust myself to use it up within a couple days. Freezing it immediately ensures it will taste the best, and not go bad on me if I forget to use it quickly. Cooked and shredded chicken thaws out super quickly in a bowl of cool water too.
You can utilize the shredded chicken directly into soups and stews, or thaw and quickly sauté in a frying pan to heat it up to safe temperatures and put over a salad, or use in a quesadilla... the ideas are endless, and it makes your meal come together quicly to already have the protein done!
I'm going to show you how to spatchcock the chickens, because it allows for the most uniform roast.
As always, when buying meat try to buy the best quality your budget allows. Prioritize quality on your higher fat meats, as toxins are stored in fat. It works kind of nicely, as the fattier meats (and anything with bones) are typically less expensive in general. For whole chickens, I always use the roasted bones for a bone broth afterwards. So I try to prioritize pasture-raised chickens, as they are eating a natural diet foraging the fields, and apart from just being the most humane option and best for our environment, it will be the healthiest to eat as well.
To spatchcock a chicken is really quite easy. You just need a good pair of kitchen shears, and something to roast it in. I am partial to roasting on a stainless steel rack, like pictured below, over a lined pan. It just allows even better circulation of heat, and allowing the drippings to separate from the meat makes things less greasy and more crispy!
Get your chickens all prepped. Unwrap them and rinse them if needed. Pull out any bags of organs that might be inside. You can save these for cooking or broth if you like, but we use them for dog treats! Lucky dog.
Put your chicken on your prepped surface, breast side down, and grab your kitchen shears:

Using your shears, cut along the back bone all the way up. We are creating our cut to butterfly the entire chicken.
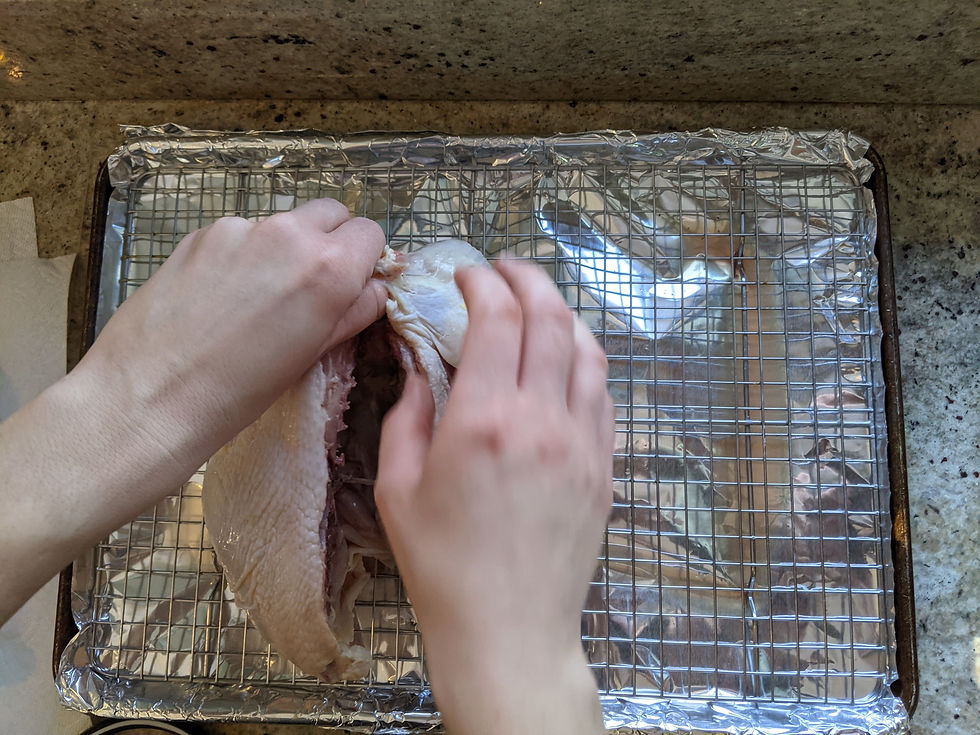
Pull the chicken apart using a bit of force, if necessary!

You want to be able to lay it flat, so it's important to make sure you're breaking those joints a bit.

Flip it over, and push down hard on any spots that need a little help to lay flat.
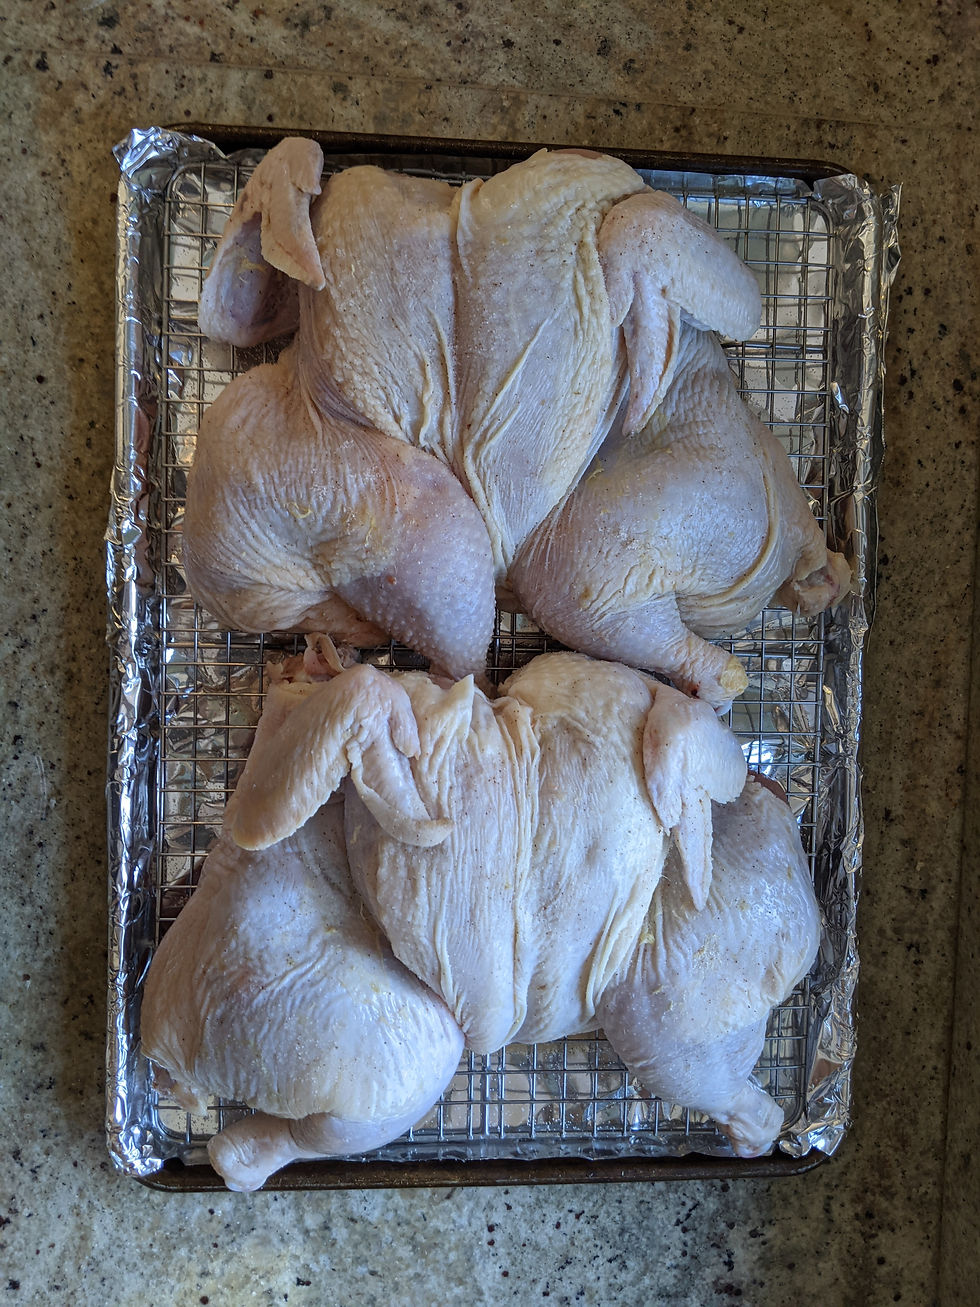
Repeat with the other chicken, make sure they're both laying flat. Sprinkle with a hearty amount of sea salt and get ready to roast! I roast mine at 375F for 1.5 hours - 2 hours (depending on size). I usually stick these in immediately after I come home from the grocery store, so I am puttering around the kitchen putting stuff away and cleaning out my fridge, or even making something else for dinner that night. Roasting is easy like that, not much attention required, other than to make sure things aren't burning!

They'll look nice and crispy when you're done. Let them cool completely, I find shredding the meat off the bone with my hands helps a lot to ensure you're getting every last scrap. You can't really do that if your chicken is steaming hot!
Make sure to save your bones for broth, and check out my other post in the kitchen basics section for instructions on how to do that! If you aren't ready to make your broth today, you can freeze the bones for later use!
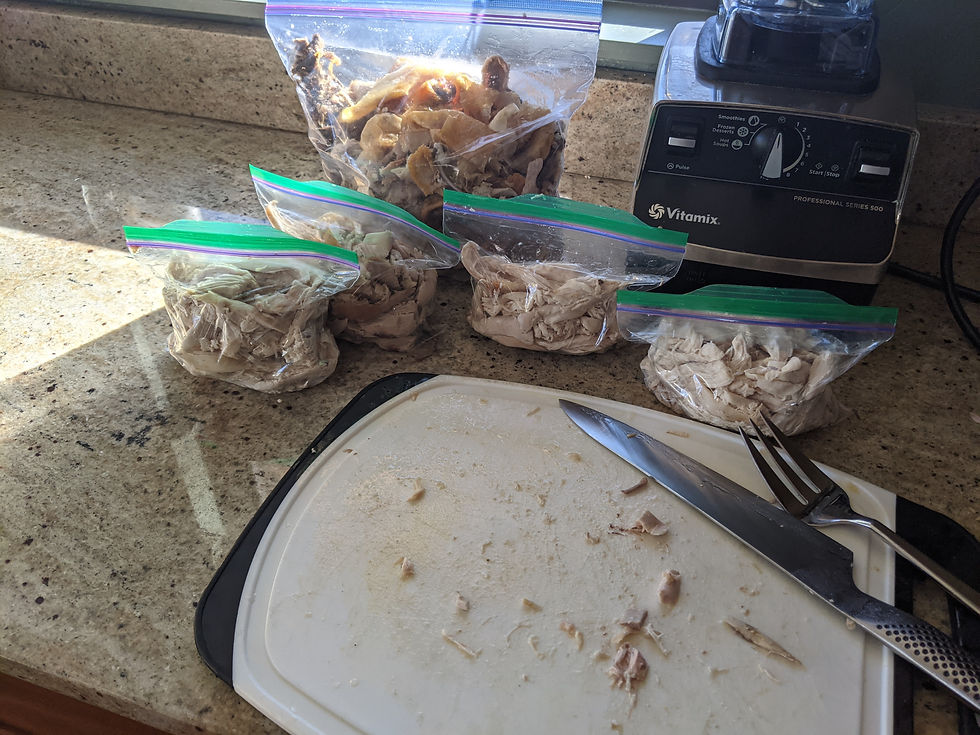
This was the meat I saved for the freezer, I actually had at least another 2 cups of shredded meat I used for dinner that night. Each bag is enough meat for an entire family dinner (there's 4 of us!), so it is very helpful to have this prepped. Easy add in for a quick soup, for burrito bowls, for quesadillas, over salads... the list goes on and on!
Of course, this recipe is geared toward a simple roasting the chicken to utilize the meat for other meals throughout the week. If you wanted to make a beautiful roast chicken for dinner, to carve and serve with gravy, I would roast it a bit differently. A post for another day, I suppose!
I would love to see if this idea helps make your life easier! Let me know what you make out of your prepped chicken!


Comments