.png)


Kitchen Basic: Bone Broth
- Melissa

- Jan 7, 2021
- 3 min read

We talked about to spatchcock a chicken to give yourself plenty of prepped protein for easy meals. Now, for what to do with those roasted bones: Bone broth!
I love having bone broth in my freezer. I freeze some in large quantities, say to pull out for a full soup, and then I also like saving some in an ice cube tray to pull out just a little bit for things like braising vegetables or deglazing a plan!
Nothing beats bone broth for nutritional value. Loaded with gut nourishing collagen and gelatin, traces minerals, and protein to boot. It is definitely a super food, great for immune health and recovery health (think postpartum recovery, or even cold and flu recovery). It also just makes sense, I started to see the pattern when I first began eating Paleo several years ago: the more parts of the animal we use, the healthier we are; and, the better we treat the animals, the better effects on our planet and our health. It's not a coincidence, it's nature! I also feel super resourceful boiling down a bone broth, like my great, great, great, great grandmother probably used to do. Yeah, I feel like my ancestors boiling down a broth... as Alexa plays Taylor Swift for me, and my dishwasher runs, and my washing machine churns through my laundry, and Amazon is dropping off my grocery order! Ha ha ha ha.... What a time to be alive, amiright?!
Despite the long simmering time, your broth will simmer for 24 hours, this is really quite easy. You can even set it in a crock pot on "low" if you're worried about leaving your stovetop on for that long.
Let's dig in!

Grab your bones from your last roasted chickens or beef, whatever bones you're using! If you aren't doing full chickens, you can slowly add any reserved bones from your meals in a freezer bag or container and when you have enough you can start your broth. I typically prep two whole chickens, so I do two chicken carcasses per batch of broth.
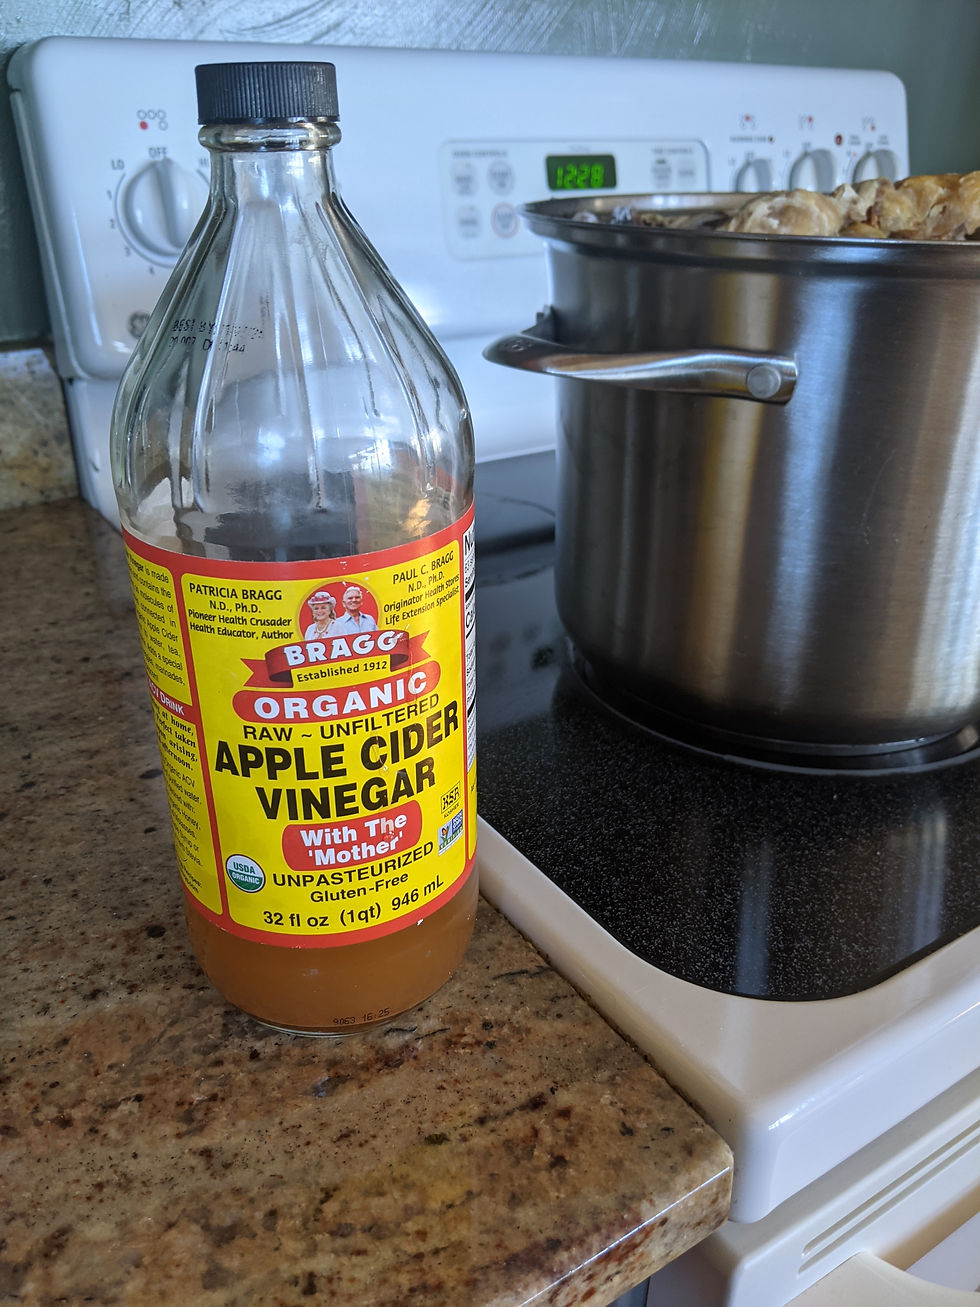
You'll add 2 teaspoons of apple cider vinegar, this is to help leech out as much collagen and nutrition from the bones as possible.

You can set the pot to high heat until a boil starts, then reduce to a simmer, then put a lid on your pot. You want to simmer on a very low temperature for 24 hours. It will still be boiling the whole 24 hours, but you want a gentle boil to preserve the nutrition. You will add your vegetables after 12 hours. Unless you prefer to add them now, then go ahead! I prefer to add them after 12 hours, because I think the veggies make the broth taste bitter for much longer than that.

Once your broth has simmered for about 12 hours, add your vegetables. You really could add anything! I typically add onion, carrots, and celery; but, you can use this as an opportunity to use up any sad vegetables you have lingering. Like these sad green onions, a little too wilting to use for much else, but throw 'em into your broth!
So pretty. Your veggies will add flavor, nutrition, and color to your broth. Simmer another 12 hours with the lid on.

Once your both has finished simmering, set up a strainer over a container to catch your broth. I first fish out all the big pieces of bone and vegetables and throw those away, then, I laddle out the broth through the strainer to make sure I have a clear broth without chunkies (a technical term). Once you get a good amount of it out, you can dump the whole pot through the strainer. My glass container here is a lot smaller than my stock pot, so I had to empty it half way through.
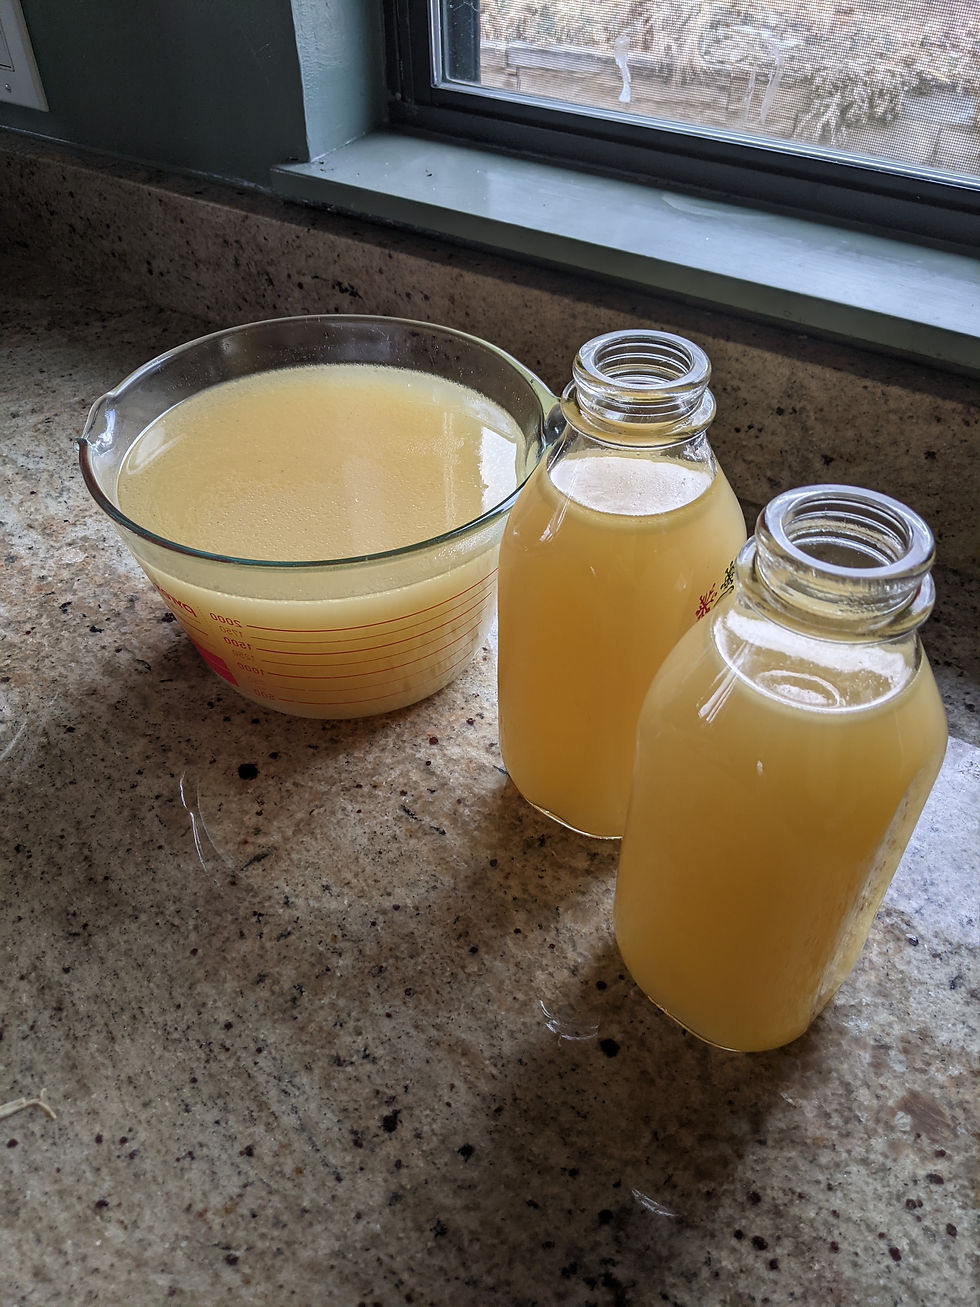
Transfer your broth to freezer safe containers, however you want to freeze it! I used the big pitcher for a soup right away, and froze the two other containers. I also froze some into ice cube trays for future use for pan deglazing and braising!


Comments