.png)


Grain-Free Birthday Cake Pops {paleo options, dairy-free options}
- Melissa

- May 13, 2021
- 3 min read

I am going to guide you through the road map to cake pop success! Cake pops can be intimidating, they need to look pretty smooth, you need to somehow get the cake to stick to a stick, and you need the PERFECT icing to cake crumb ratio. Speaking of cake crumbs, you need those crumbs to be smooth and not lumpy..... OH, and if you have food allergies or sensitivities you definitely won't be able to outsource this job to a bakery! Luckily, I will fill this gap for you right now! Buckle up, because there's a few steps and tips to read through but I promise you they are worthwhile!
Oh, and did I mention I tested these on 16 kids last weekend?! They are taste approved by a large group of kiddos. Not to mention, parent approved. It's MUCH easier to tell everyone to grab a cake pop than it is to slice cake and provide plates and cutlery.
My grain-free cake pop recipe is at the bottom of the page, if you feel you don't need to follow the tutorial... But you wanna, right?!
1) Making this recipe dairy-free:
As it stands, this recipe is grain-free and nut-free. It can easily be made dairy-free by subbing out the butter for palm shortening. When it comes to the white chocolate, there are two options for dairy-free white chocolate coatings that have clean ingredients:

*Also grain-free, which was important for us due to Brant's allergies. This is what I used

*Contain rice
If you aren't concerned about dairy, just use your favorite white chocolate of choice!
2) Using alternative sugars:
I didn't find much of a point in using sifted maple sugar in the cake. First of all, I tried it and the cake just wasn't as great. Second, I knew I needed to use powdered cane sugar in the icing anyway, and there would be cane sugar in the white chocolate. If this concerns you, you can certainly try to swap out the sugars! Please leave comments to help others out if they want to try the same! I made this "sacrifice" because a cake pop is quite a small treat, and I typically will only be making these for special birthdays.
3) Assembling the cake balls, tips and tricks:
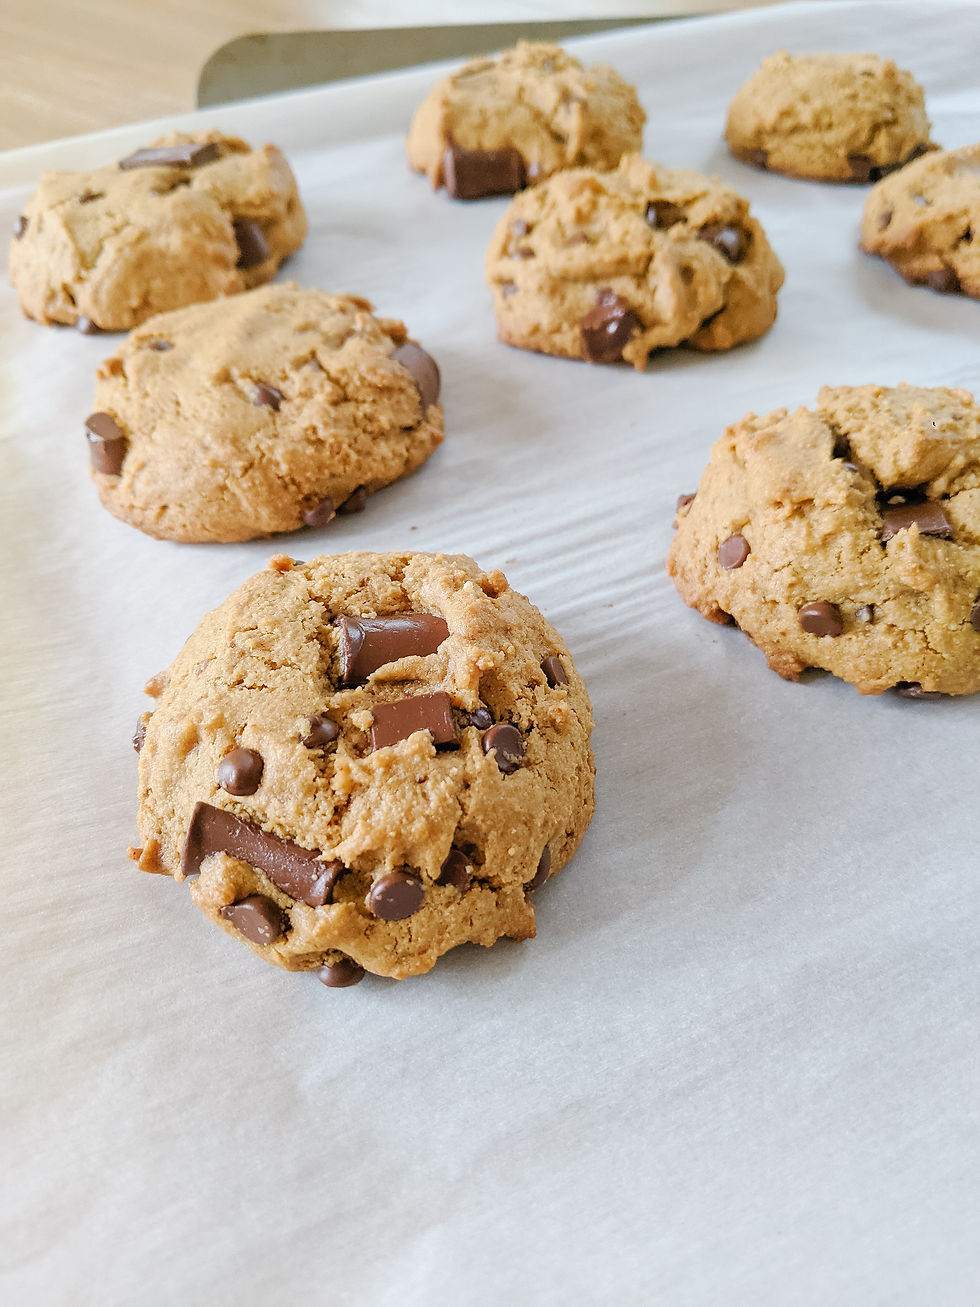
- you will be beating the icing with the cake crumbs until smooth. It will almost look like cookie dough, with no lumps or bumps. Like this:

- you will NEED to roll your cake balls first, and then freeze on a parchment paper lined baking sheet for 1-2 hours. They need to be solid!
- you will NOT be able to add liquid food coloring to the chocolate easily. I was able to add a little bit of orange gel coloring (just plain old food dye, yikes!) because I ruined the first batch of chocolate with the natural dyes. They contain far too much liquid and make the chocolate seize up. I would strongly recommend against color unless you use a bit of the gel stuff, or the powdered stuff. I used black cocoa to make tiger stripes, and adding the powder was absolutely fine. I only needed to offset the dryness with a bit of oil.
- you will need a taller container for your chocolate, so you can dip the cake balls in easily
- you will need either a store bought cake pop stand, or a box with small holes poked in it, to allow the cake pops to stand up until dry. Once they're dry, you can store them however you'd like.
- it is EXTREMELY helpful to dip the treat stick into the chocolate first, to act as a glue to the cake ball when you stick it on the cake ball
- you might need to twist/shake off any excess chocolate when you dip the balls. If its pouring down the sticks as you set them to dry, there's too much chocolate on them
Here is a video of how I dip the cake balls:
Products I used:

Worked great for my daughter's birthday! (This is a test comment from the author!)